 admin
admin 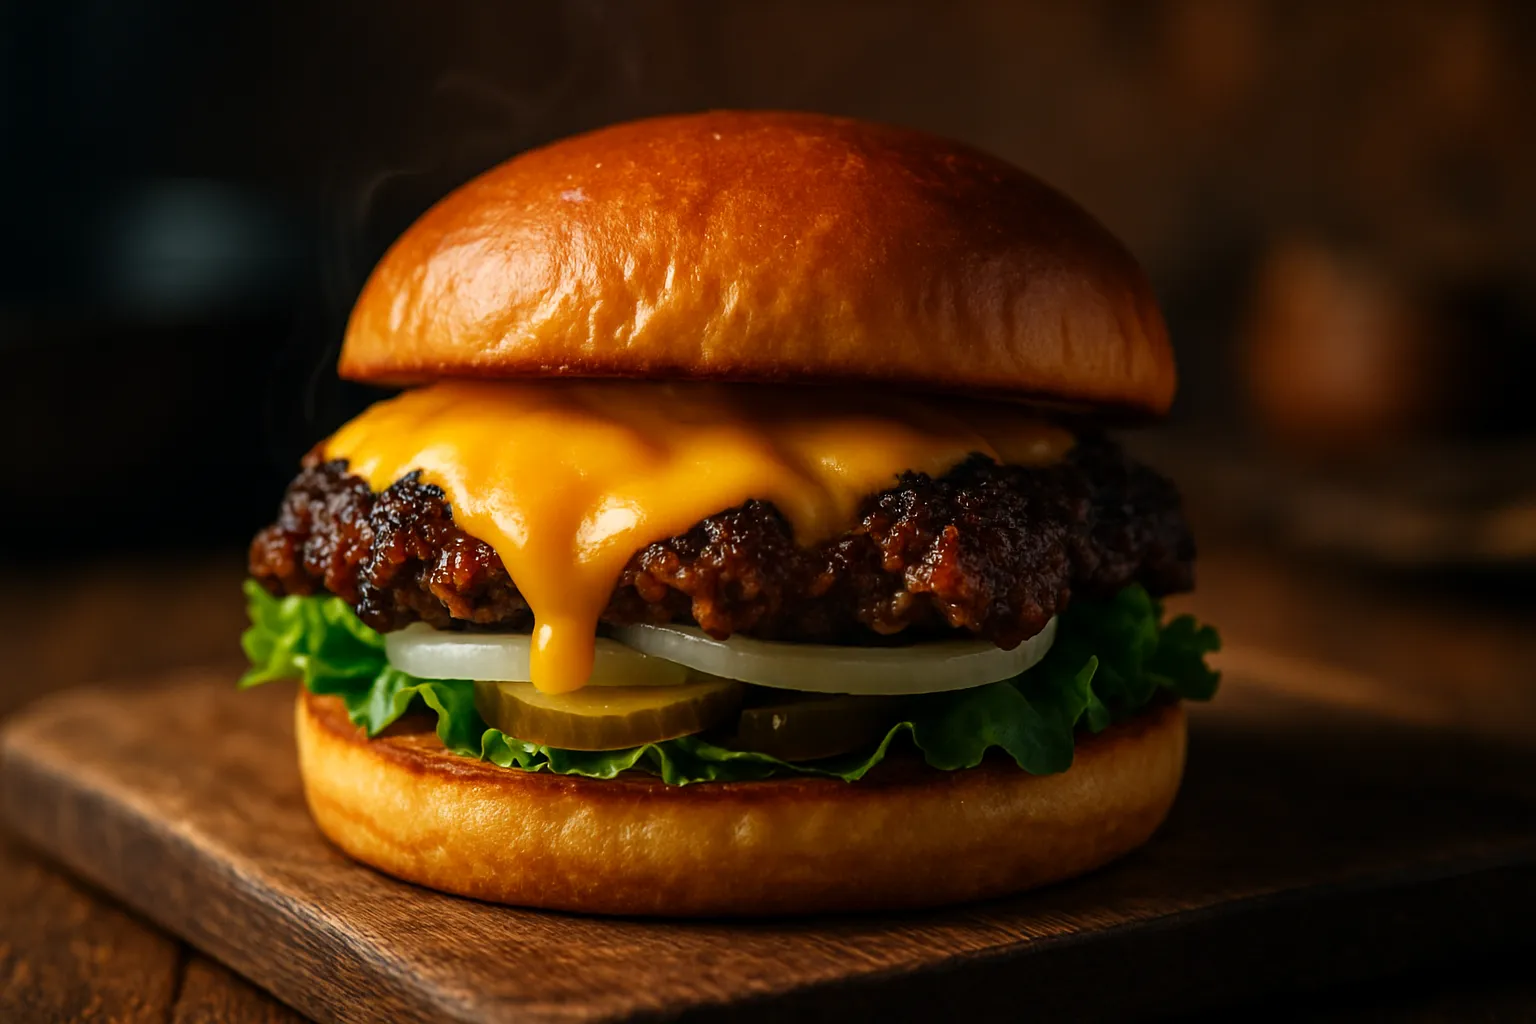
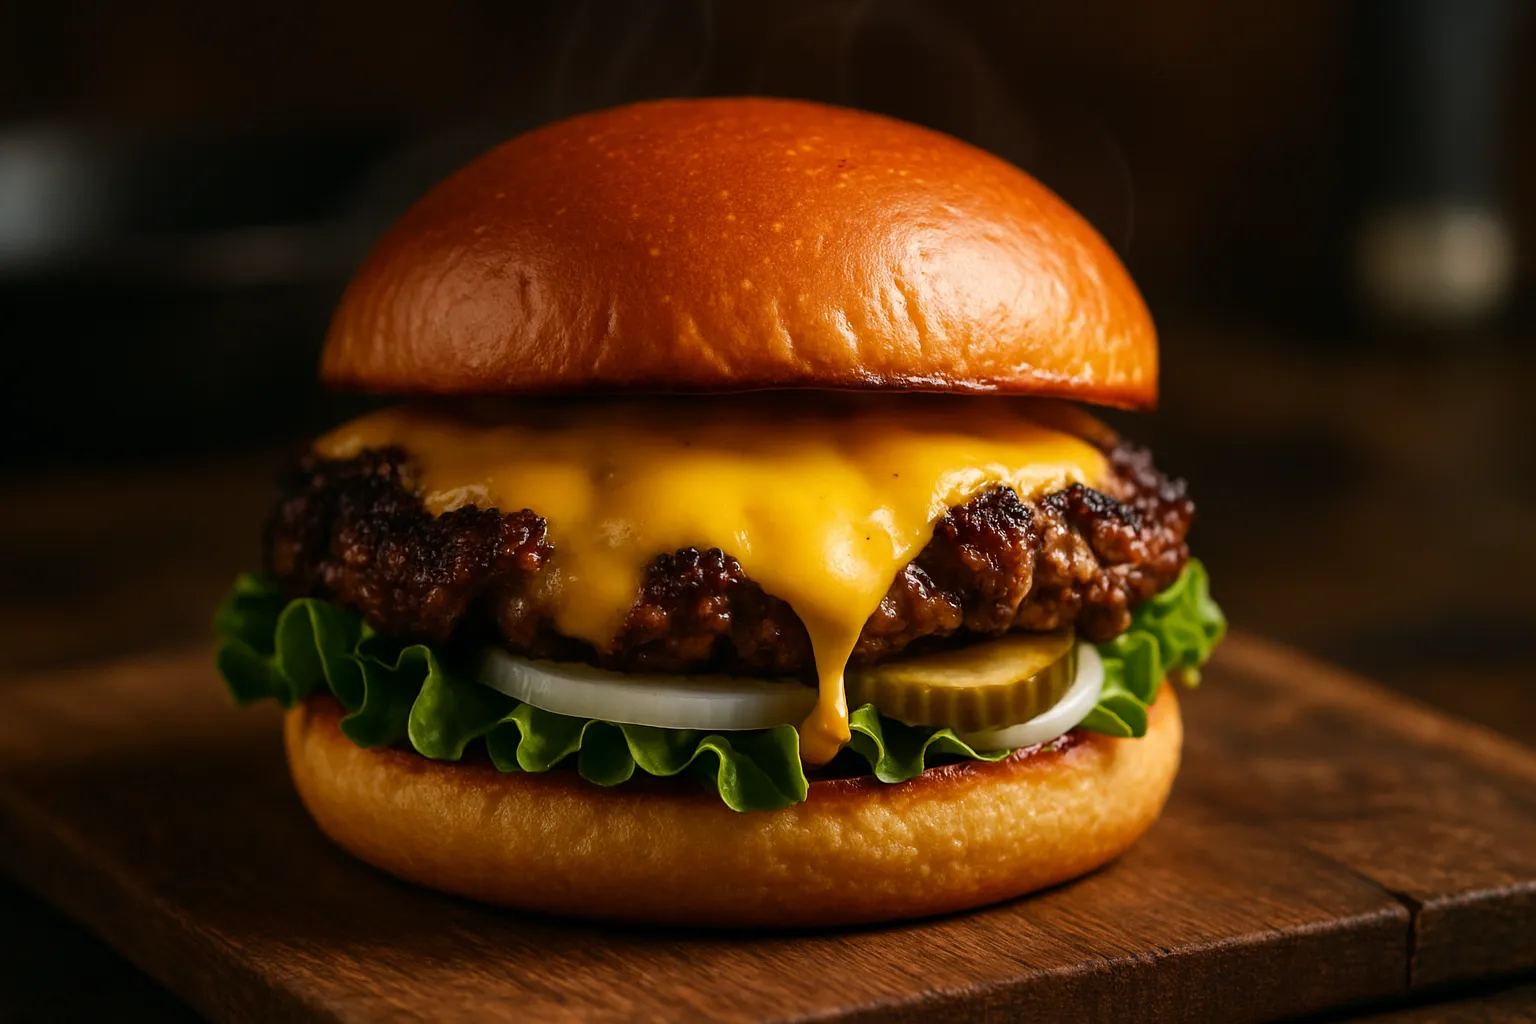
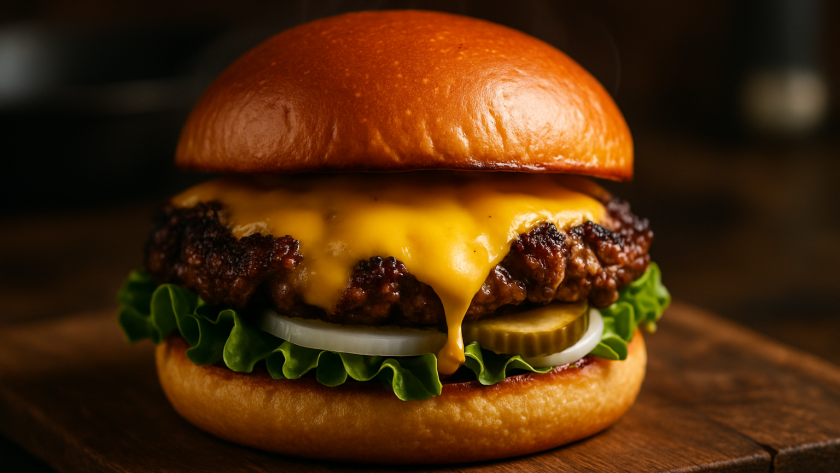
Smash burgers have taken the culinary world by storm, and for good reason. These thin, crispy-edged patties deliver an irresistible combination of caramelized crust and juicy interior that traditional thick burgers simply can't match. The secret lies in the smashing technique itself—pressing seasoned beef balls onto a screaming-hot cooking surface creates the Maillard reaction, transforming simple ground beef into a flavor-packed masterpiece.
What makes smash burgers paradoxically juicier than their thicker counterparts? It's all about speed and surface area. The high heat sears the exterior almost instantly, locking in moisture while creating those coveted crispy edges. With the right 80/20 ground beef ratio, proper equipment, and precise timing, you can achieve restaurant-quality results in your own kitchen.
This comprehensive guide walks you through every detail—from selecting the perfect meat blend to mastering the smash technique, troubleshooting common pitfalls, and assembling the ultimate burger. Whether you're using a cast iron skillet or a flat-top griddle, you'll learn the science and skills to create crispy, juicy smash burgers every single time.
Ingredients
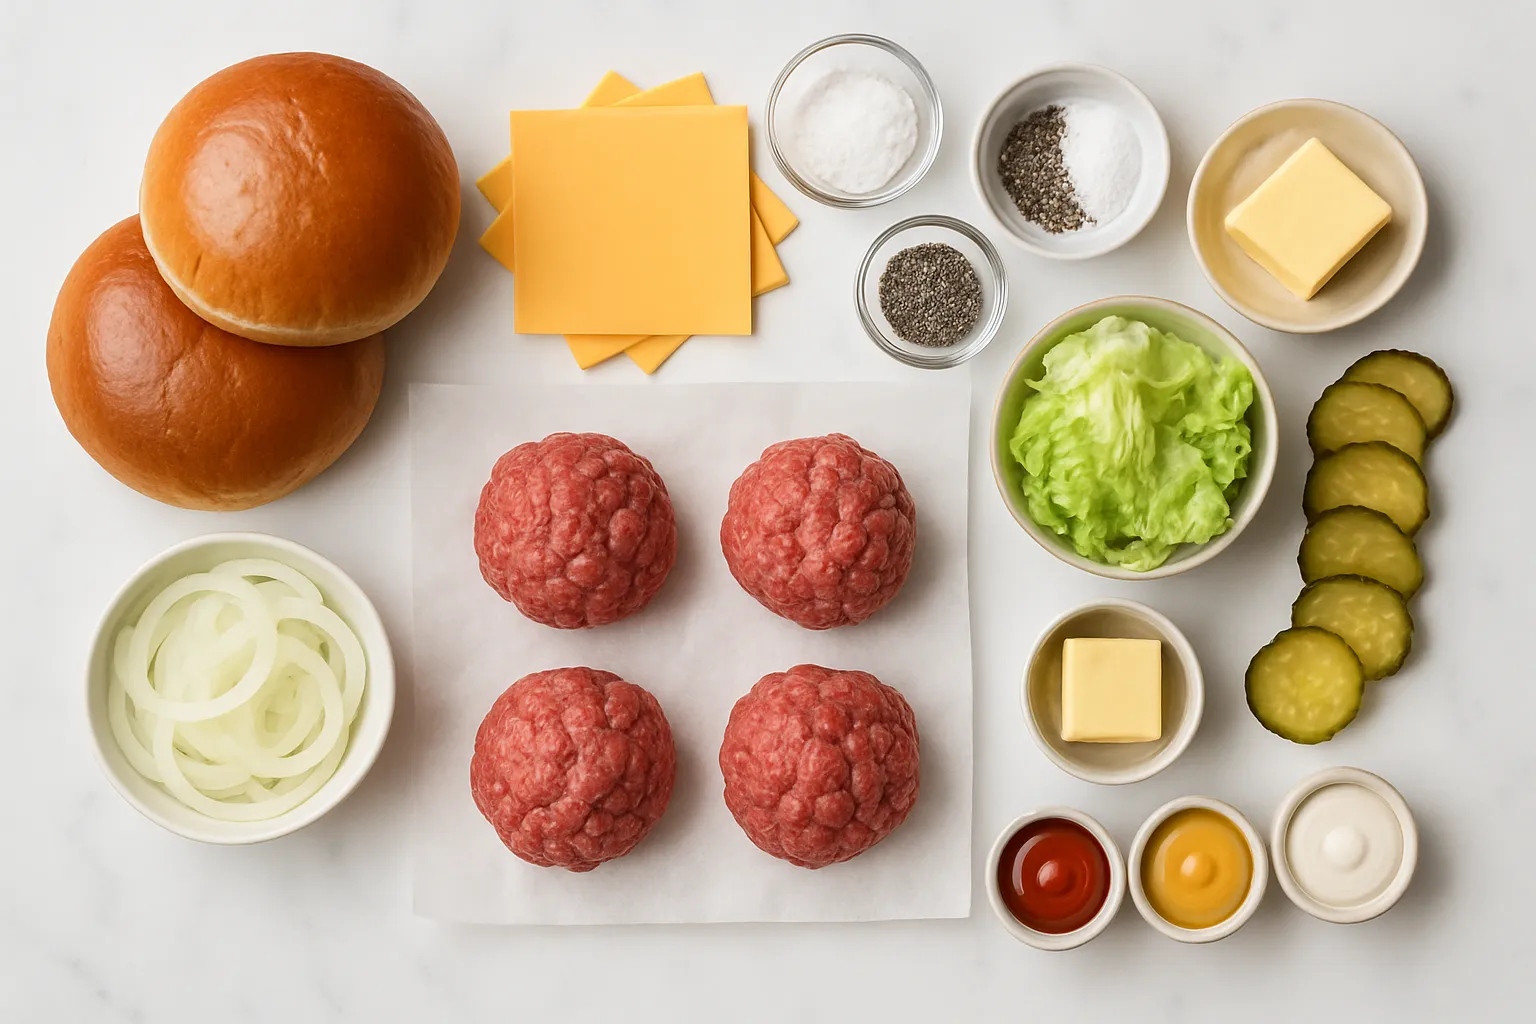
- 450g (1 lb) Ground beef (80/20 chuck) Do not use lean beef; fat is essential for juiciness
- 1 tsp Coarse sea salt For seasoning patties
- ½ tsp Freshly ground black pepper To taste
- 4 slices American cheese slices Or cheddar for best melting
- 4 buns Burger buns Potato or brioche buns work best
- 2 tbsp Butter For toasting buns
- 8-12 slices Dill pickle slices Optional topping
- ½ medium onion Thinly sliced white onion Optional topping
- 4 leaves Iceberg lettuce Optional topping
- To taste Special sauce or condiments Mayo, ketchup, mustard, or burger sauce
Instructions
- Preheat your cooking surface (cast iron skillet, griddle, or flat-top) over high heat until it reaches 200-230°C (400-450°F). This takes about 5-7 minutes. The surface must be screaming hot for proper crust formation.
- Divide the ground beef into 4 equal portions (about 110g/4oz each) and gently form into loose balls. Do not overwork the meat or compress tightly—keep them loosely packed to allow for proper smashing.
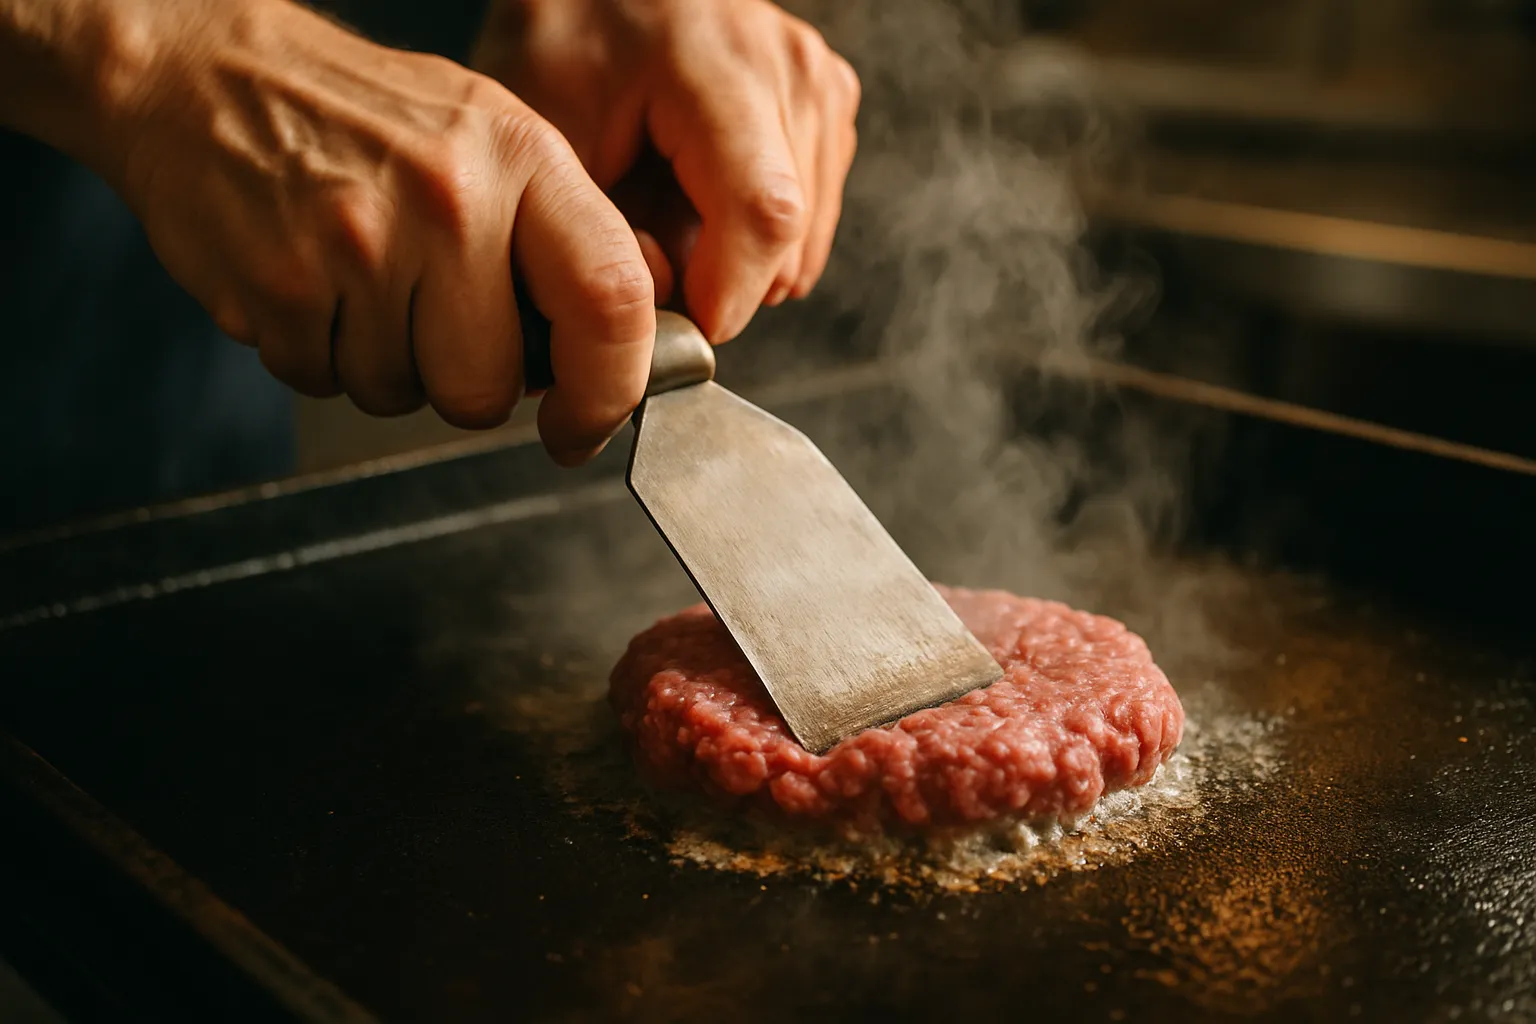
- Place one beef ball onto the hot surface and immediately smash it down firmly using a sturdy metal spatula or burger press. Apply even, consistent pressure for 3-5 seconds to create a thin patty about 6mm (¼ inch) thick. Season generously with salt and pepper right after smashing.
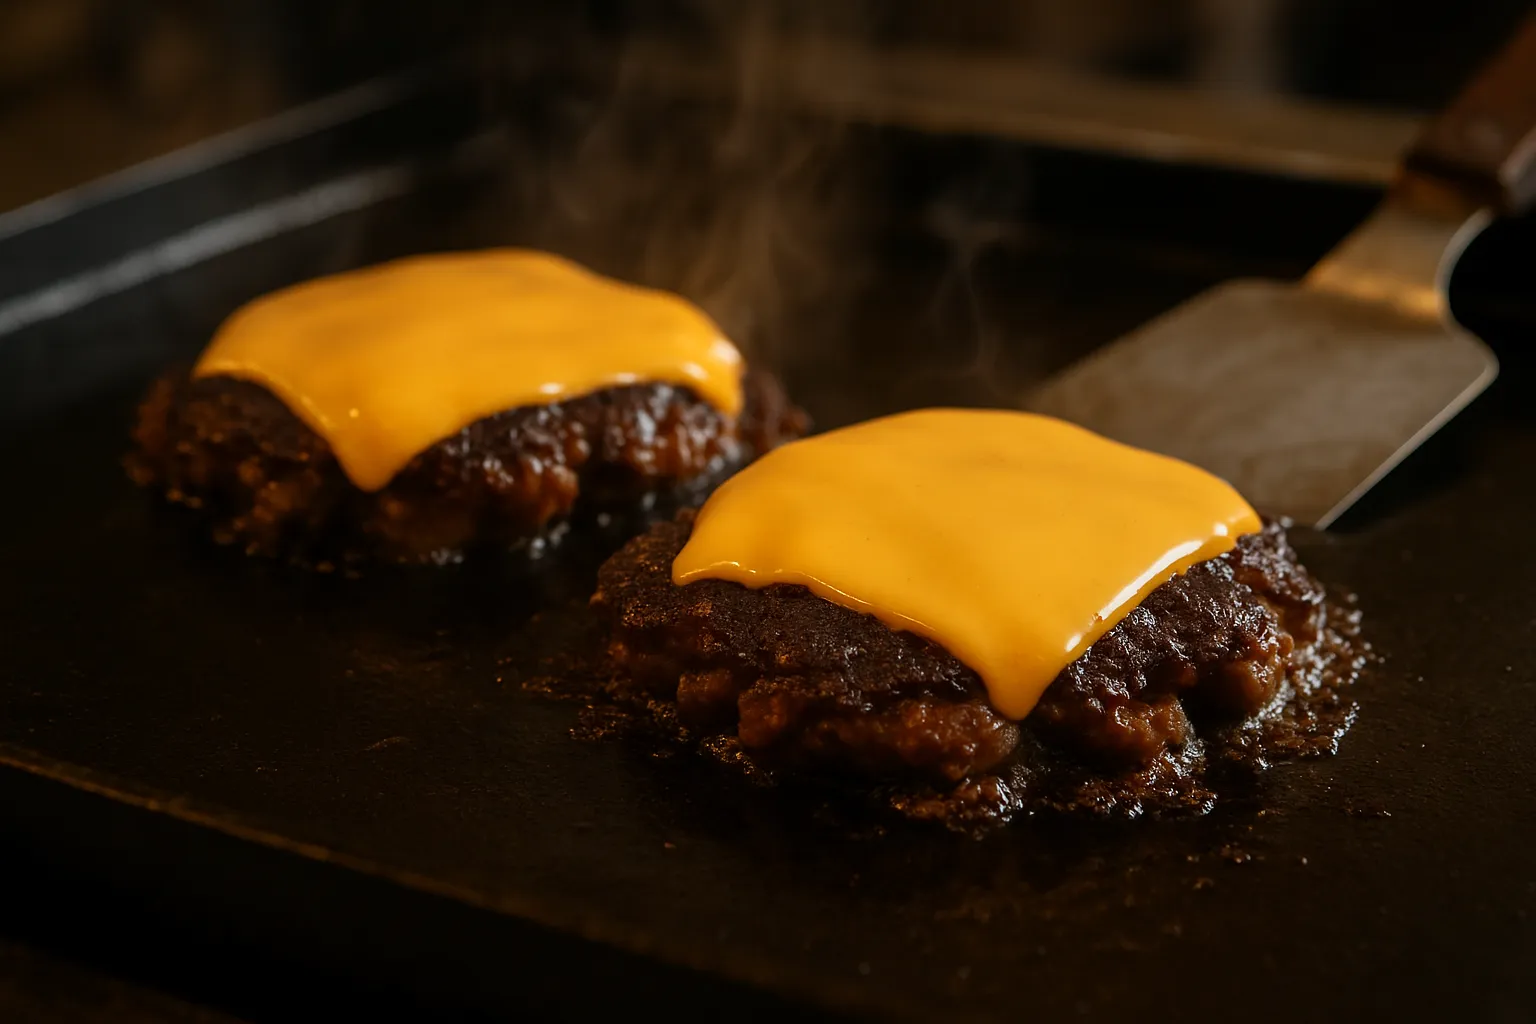
- Cook undisturbed for 2 minutes until a deep brown crust forms on the bottom. Do not press again or move the patty. About 30 seconds before flipping, place a cheese slice on top.
- Using a thin metal spatula, scrape under the patty to release the crust, then flip in one confident motion. Cook for 1 minute on the second side until the cheese melts and the patty is cooked through.
- Remove patties to a plate and let rest briefly. Meanwhile, butter the cut sides of the buns and toast them face-down on the griddle for 30-60 seconds until golden brown.
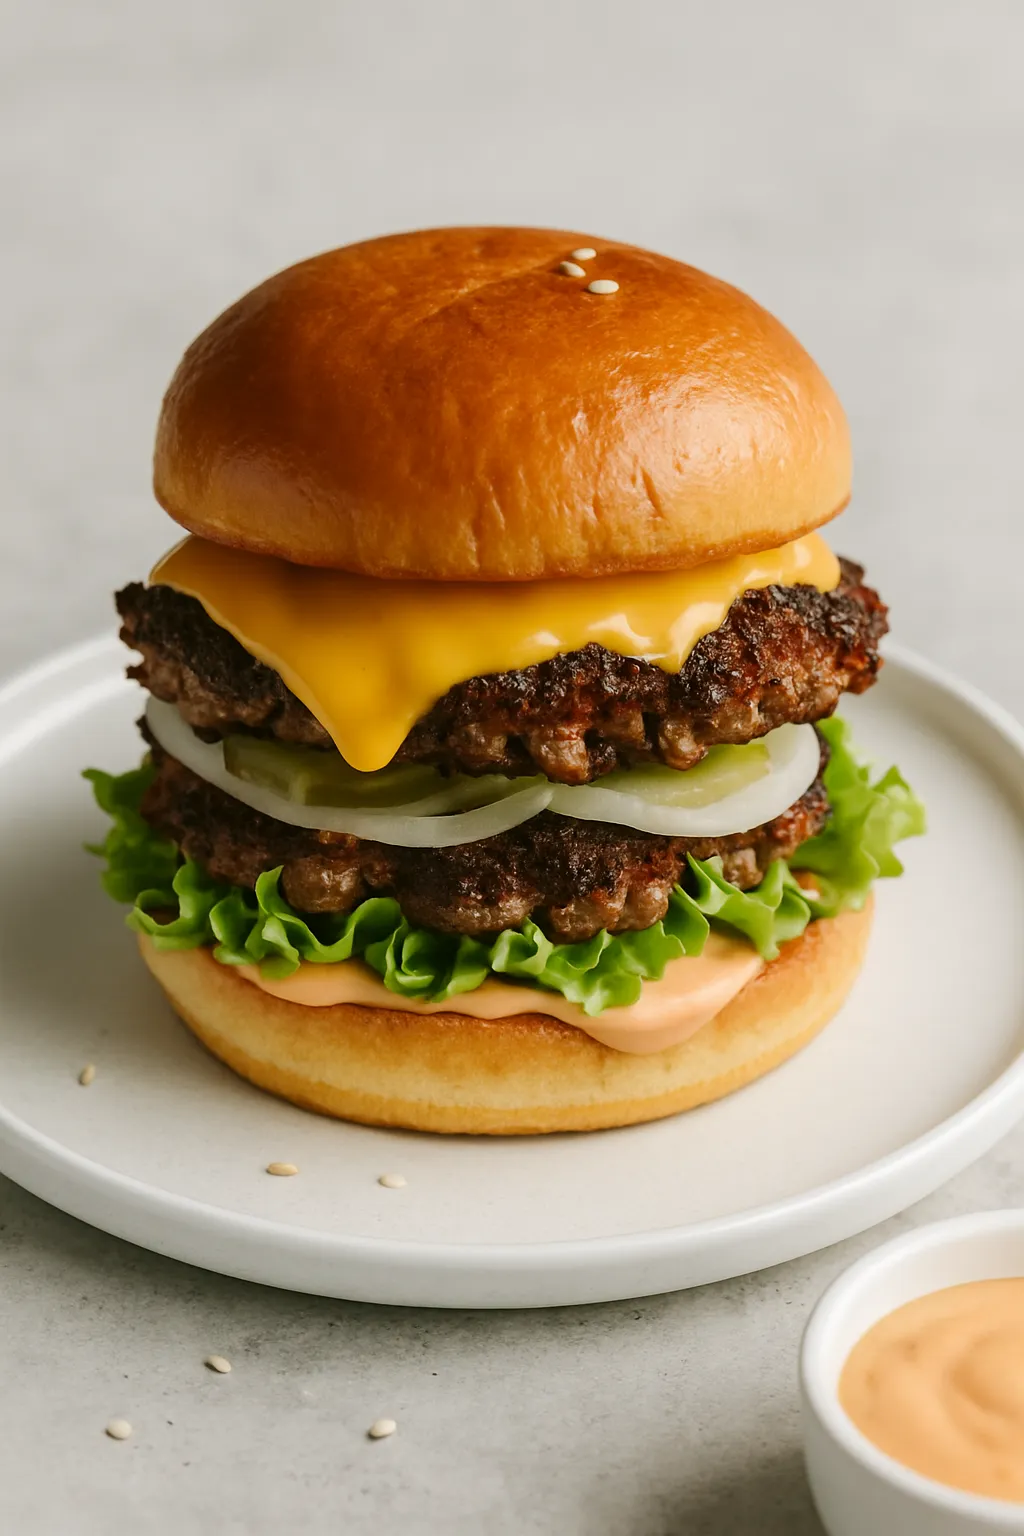
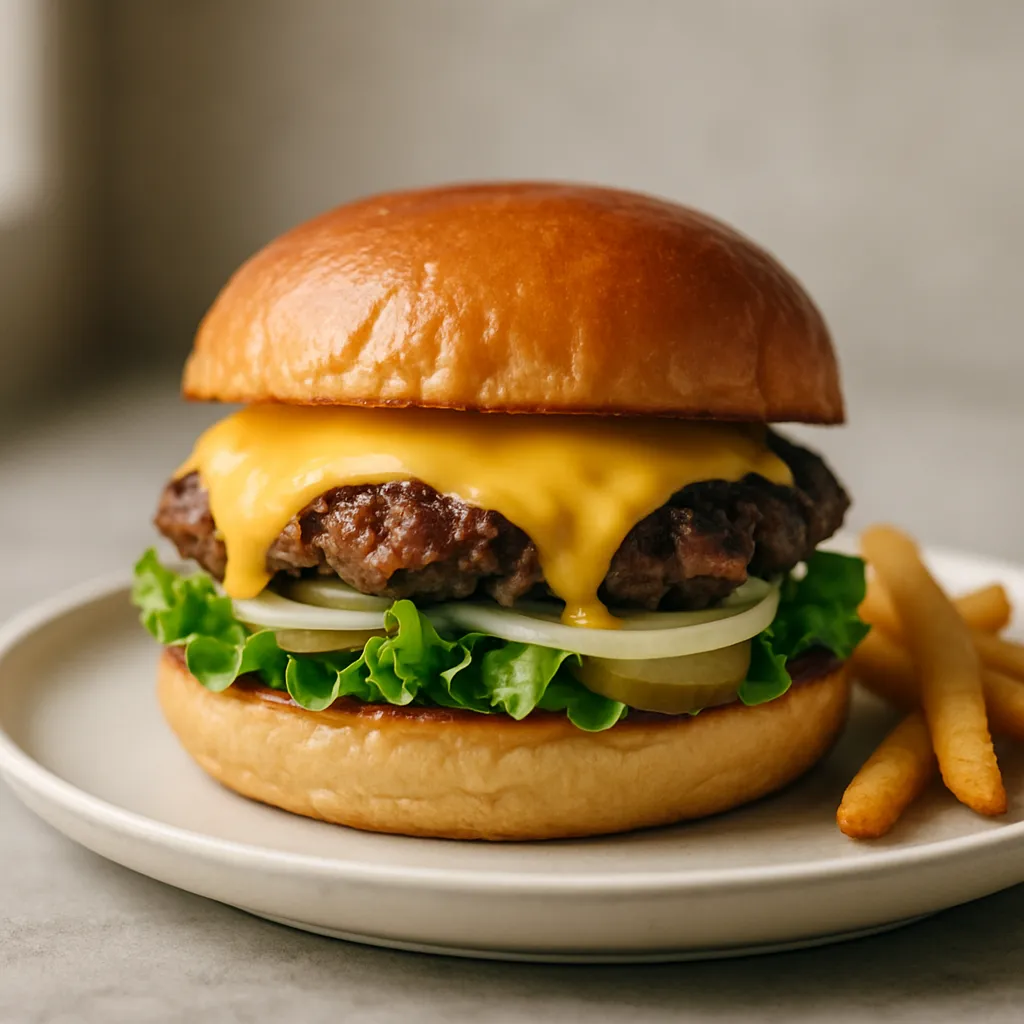
- Assemble burgers by spreading sauce on the bottom bun, layering with pickles, the smash burger patty with melted cheese, onions, lettuce, and the top bun. Serve immediately while hot and crispy.
Chef’s Tips
- Use parchment paper between the press and meat to prevent sticking without adding oil, which can interfere with crust formation.
- Season the patties immediately after smashing, not before forming the balls. This prevents the salt from drawing out moisture prematurely.
- Work in batches of 2-3 patties maximum to maintain consistent high heat across the cooking surface. Overcrowding drops the temperature.
- Let the crust release naturally—if the patty resists when you try to flip it, wait another 15-30 seconds. A proper crust will release cleanly.
- For extra-melty cheese, create a steam dome by placing a metal bowl over the patty for the last 30 seconds of cooking.
Common Mistakes to Avoid
- Pressing the patty after the initial smash—this squeezes out precious juices and makes the burger dry. Smash once, then hands off!
- Using a cooking surface that isn't hot enough. If the surface temperature is below 200°C (400°F), you'll get steamed meat instead of a crispy crust.
- Choosing lean ground beef (90/10 or 93/7). Smash burgers need the 80/20 fat ratio to stay juicy under high heat and develop proper flavor.
- Moving or adjusting the patty before the crust fully forms. This breaks the sear and creates an uneven, torn surface instead of a cohesive crust.
- Skipping bun toasting or improper layering. Always toast buns and place wet ingredients (pickles, tomatoes) away from the bun to prevent sogginess.
Variations
- Oklahoma Onion Smash Burger: Press thinly sliced onions into the raw beef ball before smashing for caramelized onion crust integration.
- Double Smash Stack: Make two thinner patties (60g each) and stack them with cheese between for extra crispy edges and cheese layers.
- Spicy Jalapeño Smash: Add pickled jalapeños and pepper jack cheese, finish with chipotle mayo for a spicy kick.
- Bacon Smash Burger: Top with crispy bacon strips and add a fried egg for a decadent breakfast-style burger.
- Mushroom Swiss Smash: Use Swiss cheese and top with sautéed mushrooms and caramelized onions for an umami-rich variation.
Storage
Smash burgers are best enjoyed immediately while the crust is crispy. Cooked patties can be refrigerated in an airtight container for up to 2 days, but they will lose their signature crispy texture. Reheat gently in a skillet over medium heat for 1-2 minutes per side. Do not microwave, as this will make them soggy. Uncooked beef balls can be formed and refrigerated for up to 24 hours before cooking.
Frequently Asked Questions
What's the best fat percentage for smash burgers?
The ideal fat percentage is 80/20 (80% lean, 20% fat). This ratio provides enough fat to keep the burger juicy under high heat while developing rich flavor. Leaner beef (90/10 or higher) will result in dry, tough patties that lack the signature smash burger taste.
How do I prevent smash burgers from sticking to the griddle?
Ensure your cooking surface is properly preheated to 200-230°C (400-450°F) before adding the meat. A screaming-hot surface creates an immediate sear that naturally releases. You can also use a small piece of parchment paper under the press during smashing to prevent sticking without adding oil.
Should I season smash burgers before or after smashing?
Always season immediately after smashing, not before. Salting the meat before forming or smashing draws out moisture prematurely, resulting in a drier burger. Season generously with coarse salt and black pepper right after you've smashed the patty onto the hot surface.
Can I make smash burgers without a griddle?
Yes! A heavy cast iron skillet or stainless steel pan works excellently for smash burgers. The key is a flat, heavy cooking surface that retains high heat. Avoid nonstick pans as they can't reach the temperatures needed for proper crust formation.
How thin should smash burger patties be?
Aim for about 6mm (¼ inch) thick after smashing. Start with 80-110g (3-4oz) beef balls and smash firmly with even pressure. The patty should be thin enough to develop crispy edges but not so thin that it becomes brittle or burns before cooking through.
Do you flip smash burgers only once?
Yes, flip only once. Smash burgers cook for about 2 minutes on the first side to develop the crust, then 1 minute on the second side. Multiple flips prevent proper crust formation and cause the burger to lose juices, resulting in a dry, less flavorful patty.