 admin
admin 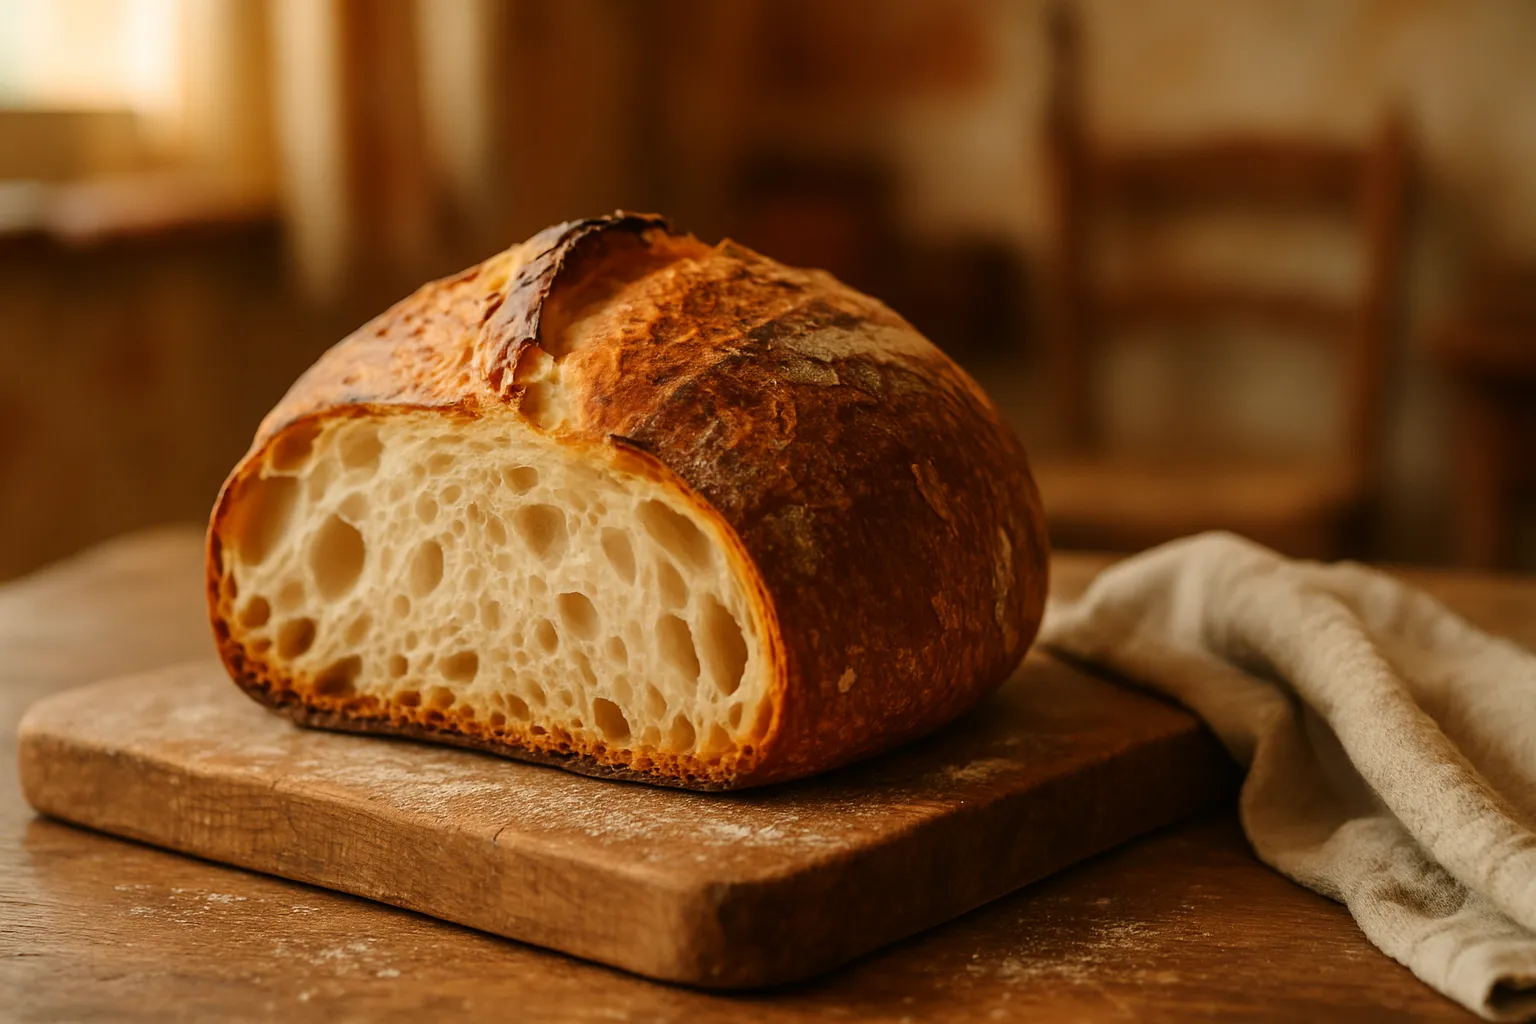
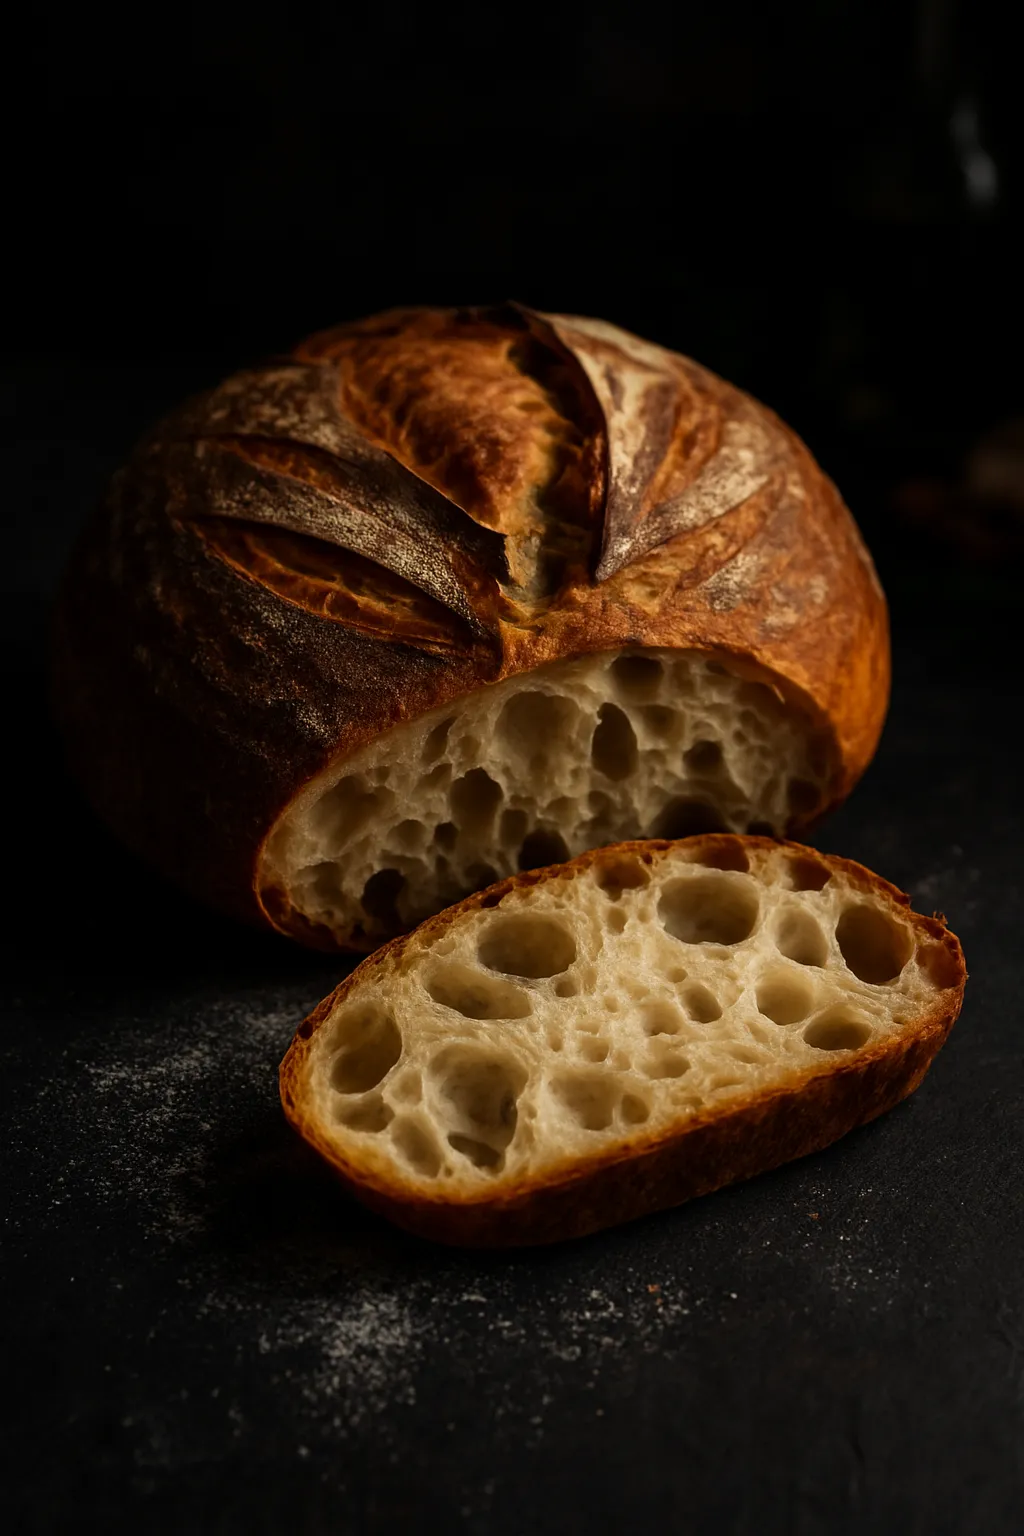
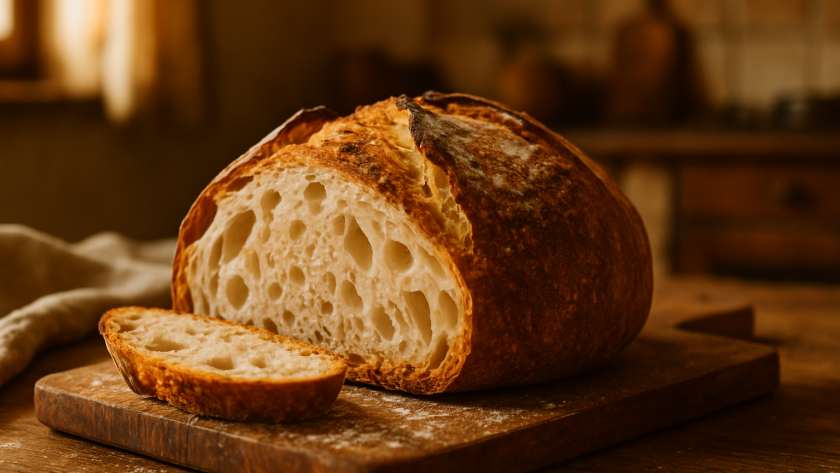
Imagine pulling a golden, crusty loaf of artisan bread from your oven—the kind you'd find in an Italian bakery—made with just four simple ingredients and barely 10 minutes of hands-on work. That's the magic of Easy No-Knead Artisan Bread, a technique that transforms flour, water, salt, and a tiny bit of yeast into bakery-quality bread while you sleep.
The secret lies in time rather than effort. Overnight fermentation does all the heavy lifting, developing gluten strands and complex flavors without any kneading. This slow rise creates those beautiful air pockets and chewy texture that make artisan bread so irresistible.
Whether you're a complete beginner or an experienced baker looking for a foolproof method, this recipe delivers professional results every single time. All you need is a Dutch oven and a bit of patience—the oven will reward you with that signature crackling crust and tender, airy crumb.
Ingredients
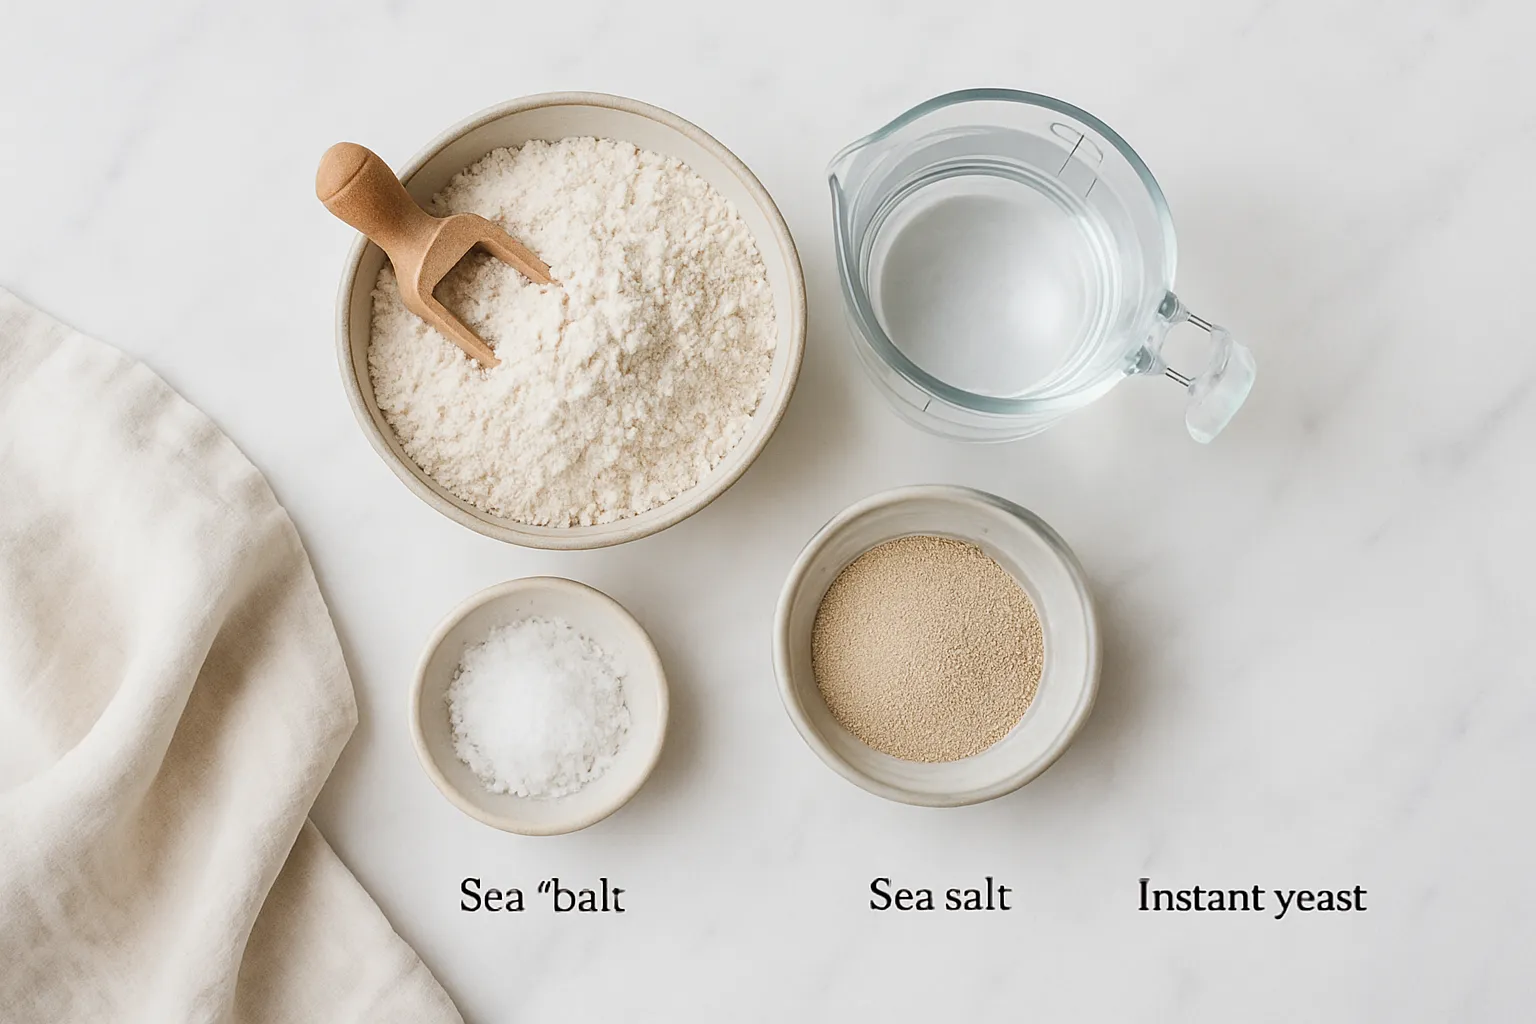
- 400g (3¼ cups) bread flour all-purpose flour works too, but bread flour gives better structure
- 300ml (1¼ cups) warm water around 40°C (105°F), not hot
- 8g (1½ teaspoons) fine sea salt
- 2g (½ teaspoon) instant yeast or active dry yeast; minimal amount for slow fermentation
Instructions
- In a large bowl, whisk together the flour, salt, and yeast. Add the warm water and stir with a wooden spoon or spatula until a shaggy, sticky dough forms with no dry flour remaining. This takes about 1-2 minutes—don't worry about it looking messy.
- Cover the bowl tightly with plastic wrap or a damp kitchen towel. Let the dough rest at room temperature (18-22°C) for 12-18 hours. The dough will double in size, become bubbly on the surface, and develop a slightly tangy aroma.
- After the first rise, lightly flour a work surface and your hands. Gently turn the dough out onto the surface—it will be very sticky and soft. Fold the edges toward the center 4-5 times to create surface tension, then flip seam-side down and shape into a round ball.
- Place the shaped dough seam-side down on a piece of parchment paper. Cover loosely with a towel and let rise for 1-2 hours until puffy and nearly doubled. Meanwhile, place your Dutch oven with the lid on in the oven and preheat to 230°C (450°F) for at least 30 minutes.
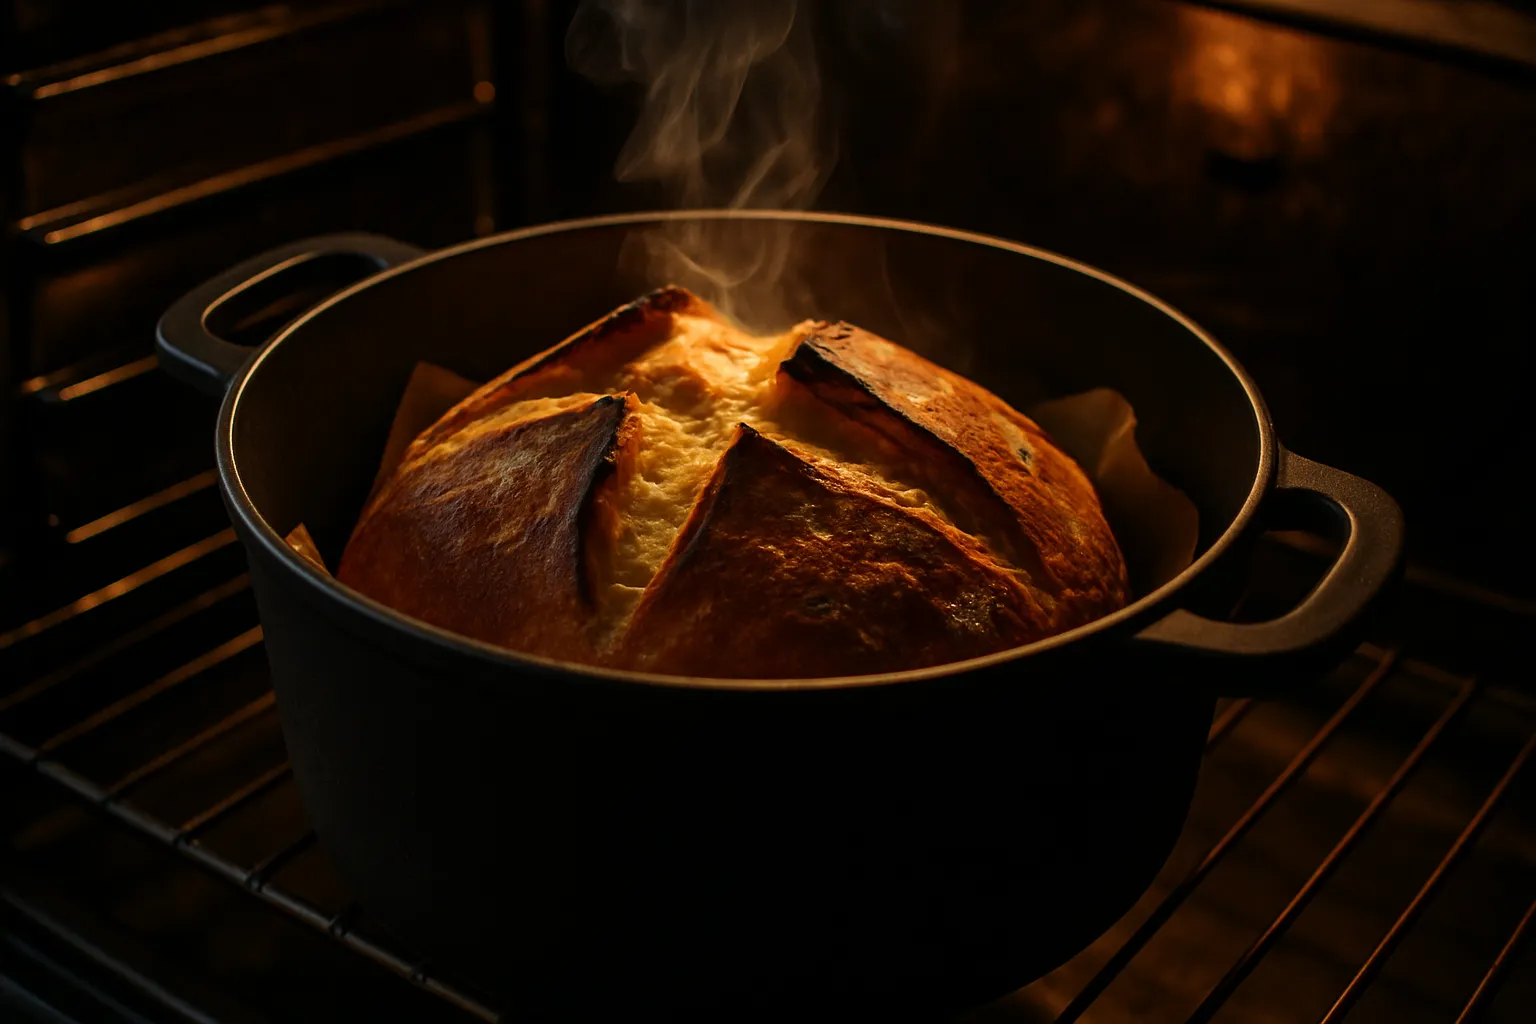
- Carefully remove the hot Dutch oven. Use the parchment paper to lift the dough and lower it into the pot. Score the top with a sharp knife or razor blade in an 'X' pattern. Cover with the lid.
- Bake covered for 30 minutes. Remove the lid and continue baking uncovered for 15-20 minutes until the crust is deep golden brown. The internal temperature should reach 95-98°C (200-210°F).
- Carefully lift the bread out using the parchment paper and transfer to a wire rack. Let cool for at least 30 minutes before slicing—this allows the crumb to set properly. The bread should sound hollow when tapped on the bottom.
Chef’s Tips
- Room temperature matters: In warmer Italian climates (above 24°C), reduce the first rise to 10-12 hours to prevent over-fermentation. In cooler rooms, extend to 18 hours.
- The dough should be quite sticky and wet—this high hydration (75%) creates those beautiful open air pockets. Resist adding extra flour during shaping; use wet or lightly floured hands instead.
- Preheat your Dutch oven thoroughly for at least 30 minutes. This intense initial heat creates maximum oven spring and that signature crackling crust.
- For an even crispier crust, leave the bread in the turned-off oven with the door cracked open for 5-10 minutes after baking.
- Use a sharp serrated knife or bread lame to score the dough quickly and confidently—hesitation creates ragged cuts that won't open properly.
Common Mistakes to Avoid
- Using water that's too hot (above 50°C) can kill the yeast, while water that's too cold slows fermentation dramatically. Aim for comfortably warm to the touch.
- Cutting into the bread too soon releases steam and makes the interior gummy. Always wait at least 30 minutes, preferably an hour, for the crumb to fully set.
- Over-handling the dough during shaping deflates those precious air bubbles. Work gently and quickly, using just enough flour to prevent sticking.
- Skipping the Dutch oven preheat results in poor oven spring and a pale, soft crust. The trapped steam and intense heat are essential for artisan-quality results.
- Not allowing enough time for the first rise—the dough should be very bubbly, doubled, and have a slightly domed surface. Under-proofed dough produces dense, tight crumb.
Variations
- Rosemary Garlic Artisan Bread: Add 2 tablespoons fresh chopped rosemary and 3 minced garlic cloves to the dough during initial mixing. Brush the top with olive oil before the second rise.
- Mediterranean Olive & Cheese: Fold in 100g chopped Kalamata olives and 80g cubed pecorino or feta cheese after the first rise, before shaping.
- Seeded Whole Grain: Replace 100g bread flour with whole wheat flour and add 3 tablespoons mixed seeds (sunflower, pumpkin, sesame) to the dough. Brush the top with water and sprinkle with extra seeds before baking.
- Tuscan Herb Bread: Mix in 1 tablespoon dried Italian herbs (oregano, basil, thyme) and 2 teaspoons fennel seeds for a classic Italian flavor profile.
- Sweet Fruit & Nut: Add 80g chopped dried figs or apricots, 60g toasted walnuts, and 1 tablespoon honey to create a breakfast or cheese-board bread.
Storage
Store completely cooled bread cut-side down on a cutting board at room temperature for up to 2 days—this preserves the crispy crust. For longer storage, wrap tightly in foil or place in a paper bag (crust will soften). Freeze sliced or whole bread wrapped in plastic and foil for up to 3 months. Reheat frozen slices in a toaster or refresh whole loaves in a 180°C (350°F) oven for 10-15 minutes. Avoid refrigerating, as this accelerates staling.
Frequently Asked Questions
Can I use all-purpose flour instead of bread flour?
Yes, all-purpose flour works well, though bread flour's higher protein content (12-14%) creates slightly better structure and chewier texture. Your bread will still be delicious with all-purpose flour—you may notice a slightly softer crumb.
Why is my no-knead bread dense instead of airy?
Dense bread usually results from under-proofing (not enough rise time), using old yeast, or water that was too hot and killed the yeast. Make sure your dough doubles in size and becomes very bubbly during the 12-18 hour first rise.
Do I really need a Dutch oven for this recipe?
While a Dutch oven gives the best results by trapping steam, you can use any heavy oven-safe pot with a lid, a baking stone with an inverted roasting pan as a cover, or even a covered casserole dish. The key is creating a steamy environment for the first 30 minutes of baking.
How do I know when the bread is fully baked?
The crust should be deep golden brown, and the bread should sound hollow when tapped on the bottom. For precision, use an instant-read thermometer—the internal temperature should reach 95-98°C (200-210°F).
Can I make this dough ahead and refrigerate it?
Absolutely! After the initial mixing, you can refrigerate the dough for up to 3 days. The cold fermentation develops even more complex flavors. Just bring it to room temperature (about 2 hours) before shaping and the second rise.
Why does the recipe use so little yeast?
The minimal yeast (just ½ teaspoon) allows for slow fermentation over 12-18 hours, which develops superior flavor, better texture, and improved digestibility. More yeast would cause the dough to rise too quickly without developing those complex flavors.